Showing posts with label chiffon cake. Show all posts

Wednesday, March 1, 2017

Almond Chiffon Cake

Well hello strangers! Sorry for the long silence here. It has been a rather hectic past few months and it is never easy trying to cope with the increasing amount of work apart from my usual household routines. No matter, my blog is still here where I can always come back to deposit some good recipes and catch up on posts from my fellow blogger friends. 

Today I am back with another keeper. An Almond Chiffon cake recipe which is quite amazing if I do say so myself. 


My initial plan was to use up that almond flour I left from all that CNY bakes. Since almond frangipane tart and pound cake aren't what I want to eat (too heavy), so I opted for a lighter bake.


So I went ahead and did a draft recipe and started baking. Had a couple tweaks and this cake turned out amazingly good. Most importantly I did not cave in to using almond essence, (thank god) and yet it still has that faint nutty fragrance which lingers after each bite.

Recipe for Almond chiffon cake

Egg yolk mixture

5 large egg yolks
30 g creamy almond butter (refer here for recipe)
60 ml peanut oil
70 ml fresh milk
1/2 tsp salt
1/2 tsp baking powder
60 g cake flour
60 g almond meal

Egg white mixture

5 egg whites 
1/3 tsp cream of tartar
105 g caster sugar 

Method
1) In the blender, blend both almond meal and flour together till smooth and fine. 
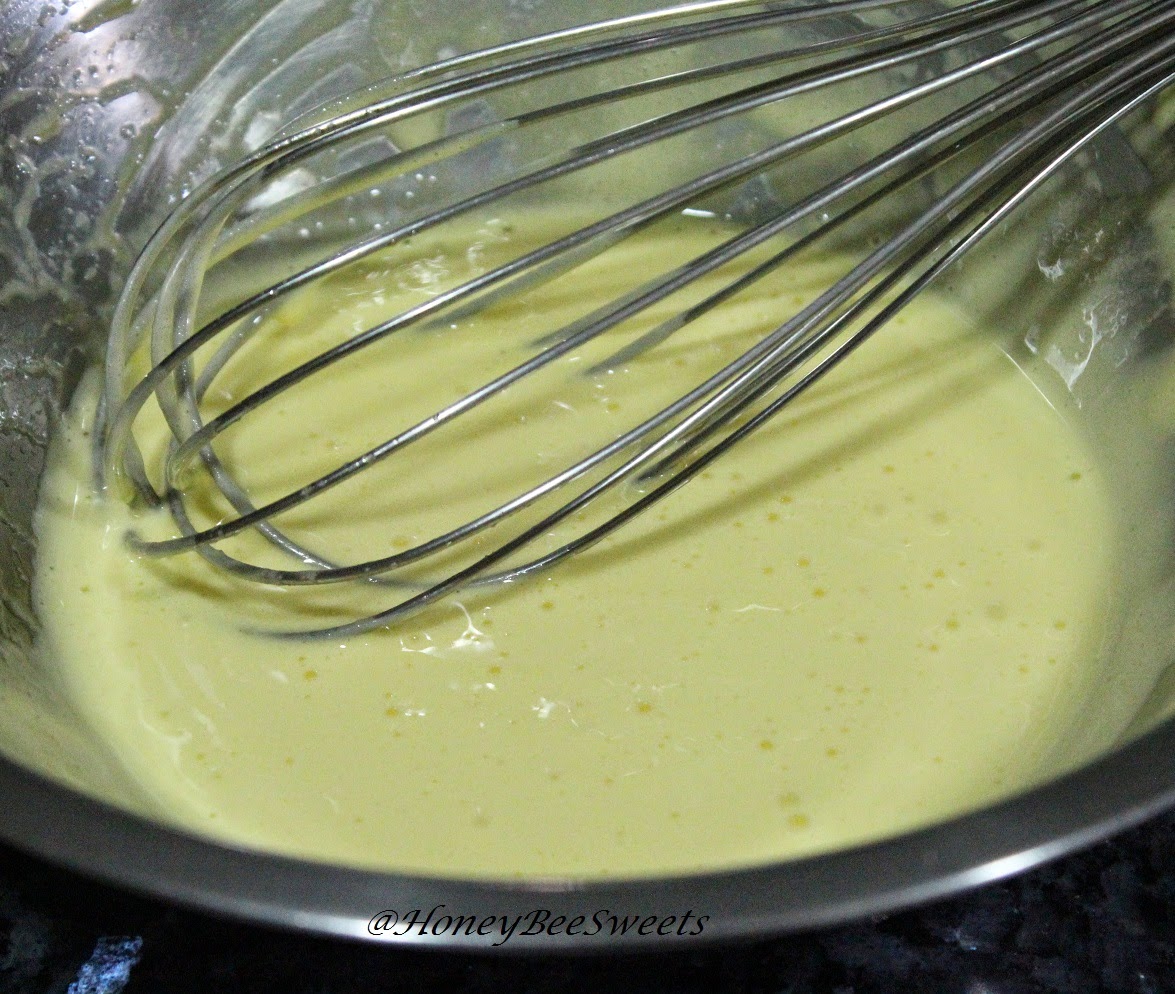
2) In a large mixing bowl, add in egg yolks, almond butter, oil and milk in. Whisk till well combined. The almond butter might be clumpy, just use a spoon or the whisk to break it up.
3) Add in salt, baking powder and flour mixture into the egg yolk batter. Whisk well to remove any lumps and smooth. Set aside for use later.
4) In a separate bowl, add in all the egg white ingredients and whisk till it reaches stiff peaks.
5) Preheat the oven to 170C . Combine the egg white mixture to the yolk mixture in 3 separate portions. Be gentle and don't over whisk. 
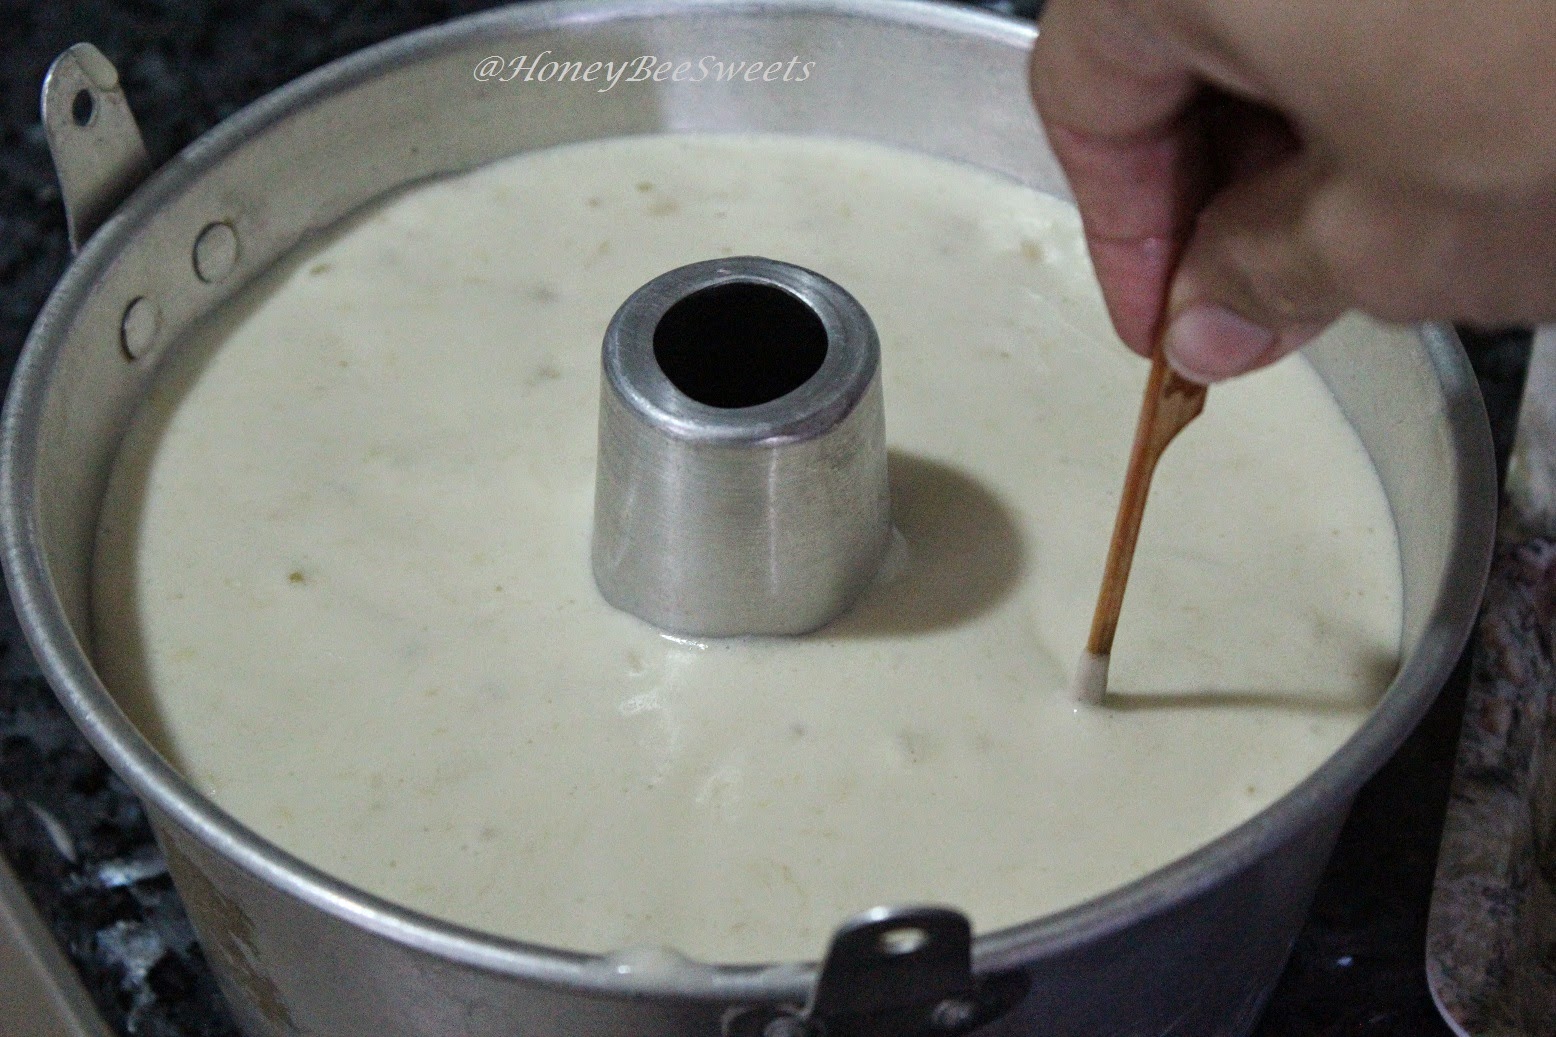
6) Pour batter into a chiffon tube pan and bake in the preheated oven for 26-28mins till the tester comes out clean. 
7) Remove from oven and invert to co before removing from the mould/ slice. Enjoy!


To achieve that tender soft, melt-in-the mouth texture, creaming process of the fat and yolk is necessary. The more air is introduced the better. More air is incorporated next with the well beaten meringue. Stiff peaks is needed to hold the whole chiffon. 
So yeah, cake baking is like science! Having the correct proportion matters.

I will be baking another 2 more chiffons for a close friend this week. So stay tune for more chiffon goodness on my Instagram @HoneyBeeSweets.sg 

Have a great midweek everyone!
Thanks for reading and hope you will try this recipe out!


Monday, May 18, 2015

Raspberry Rose Chiffon with Raspberry Buttercream


I remember seeing this recipe from Swee San's blog awhile back, I knew at that point that I will try that recipe out. Just that I didn't know when haha. :D Okay, back up ... I am talking about this lovely recipe, Raspberry Rose Chiffon Cake.


Not only is the taste is so special, it is such a uniquely elegant flavor that even my picky sisters were impressed. Thanks to Swee San of course...quite the pastry chef! You can hope over to her post to see how she create this lovely recipe

I made changes to the recipe since I wanted mine to fit into my 21 cm tube pan. And instead of using whipped cream, I made buttercream for the frosting since I needed to transport it out for a gathering, I wanted a more stable topping. And since I use raspberry jam, I presume the raspberry will be more intense verses the fruit puree itself. In turn I reduced the sugar level as well to maintain the proper sweetness of this cake.

Ingredients for Raspberry Rose Chiffon (Makes a 21 or 22cm tube pan)
5 egg yolks
10 g dried rose buds
70 ml fresh full cream milk
40 g homemade raspberry jam (store bought is fine)
50 ml corn oil
40 g caster sugar
pinch of salt
125 g cake flour
1 tsp baking powder

5 egg whites
90g caster sugar

Method: 
  • First of all, removed the calyxes of the dried rose buds.

  • Then places the rose buds into a blender and chop up the rose petals into fine flakes. 
  • In a large mixing bowl, add in these blended rose flakes, follow by egg yolks, caster sugar, milk, raspberry jam, vegetable oil and salt.

  • Give that mixture a good stir to combine everything together evenly using a whisk.
  • Once the mixture is smooth, sift in the cake flour. Again mix well till the mixture is smooth and no lumps.
  • Preheat the oven to 170C. Prepare a 21/22cm tube pan. (DO NOT USE non-stick pans)
  • In another mixing bowl add in the egg whites in. Start beating it at high speed and gradually add in the caster sugar. Continue beating till the meringue reaches stiff peaks.

  • Gently fold in the whites into the egg yolk mixture in 3 separate mixtures till all is well combined and the colour is uniform and no visible white lumps.

  • Pour the batter into the tube pan. Then using a tooth pick or chopstick, give the batter a good swirl to remove any air pockets that might be trapped in the batter.


  • Bake in the preheated oven for 30 minutes or till the cake tester comes out clean.
  • Remove the tube pan from the oven and invert it to cool. Let cake to cool completely before removing from mould.
  • Once baked, let cool and remove from pan. Set aside for now while you work on that raspberry buttercream.


Recipe for Raspberry Buttercream
Basic Vanilla Swiss Meringue Buttercream (makes ~2cups)
2.5 oz egg whites (~120g)
2.5 oz caster sugar 
(~120g)
1/4 tsp salt
bean scrapings from 1/2 of a vanilla bean
250g unsalted butter, cut into 2” chunks, room temperature

100g homemade raspberry preserve / jam (store bought is fine too)

Method: 

  • Prepare a double boiler with a gentle simmer. In a heat proof bowl, combine egg whites, sugar and salt into it. Mix well but no beating is required. Place the bowl over the double boiler and placing a candy thermometer to monitor the temperature. 
  • Stir once in awhile to prevent the egg white from curdling at sides. Aim to to have the temperature reached at least 146F / 63C for food safety reasons. 
  • Once the temperature is reached, remove from heat and beat it till it is silky white. Add vanilla extract and mix well. If the mixture is still hot, place it over a bath of ice water to cool it down.
  • Add the butter chunks one piece at a time and continue to beat while doing so. Continue to beat till all the butter has been added and the buttercream is smooth and silken. 


  • Use about 1 cup for the cake while you can chill the rest in the fridge for use in future.
  • Add in the raspberry jam and beat well till smooth. Chill if necessary if the buttercream is a little too soft. 
  • Use it to frost on the cooled chiffon cake as desired. And decorate the cake of course. ;))
There you have it. Just like your favourite chiffon cake recipe, this cake ain't as complex as it sounds. :)


Made this cake for a gathering with my sisters. It was so well received, and everyone said it's such a special flavoured cake. It's fruity, it's floral, it's pleasure to both taste and smell. 


My blog post is never complete without having a closer look of the cake...yeah a sliced version please!
Checkout the fluffy soft interior of the cake.And that sweet pinkish colour is love! 

Trust me, the combination of flavours is the in thing right now. And this combo is awesome. I can't wait to try out combos like Earl Grey Lavender or ....Chocolate Chilli? Maybe not. :P

Have a good week ahead all!


Friday, May 8, 2015

Banana Coconut Cream Chiffon

There is an endless possible combinations as to what kind of flavours you can come up with on creating your cakes. Just looking at those cakes selling at cafes and bakeries nowadays, some flavours can get really exotic, like candied bacon, chocolate chilli and even my recent attempt of Mango Sticky Rice cupcakes. :D 

Today I am sharing with you guys yet another new creation from,...ahem me again. :P Well, eating the same stuff for too many times can get a little boring. Just a little twist and tadah! A whole new world...I mean cake! This time, my chiffon is ....~drum roll~ ... Banana Coconut Cream Chiffon!
Who would have known...two really aromatic ingredients coming together and making another awesome end product...yum. I was really pleased that this chiffon turned out so well, even my two little "critics" said "It so good Mum!". And that made me decide I should blog this recipe...yeah, I'm quite easy to convince. :P Anyway...the ingredients are real simple, pretty much what you can find in your pantry.

Ingredients for Banana Coconut Cream Chiffon (Makes a 21cm / 22cm tube pan)
 
130g cake flour
5 egg yolks
90g caster sugar
100ml coconut cream (not coconut milk, it needs to be thick)
40ml organic coconut oil
1/2 tsp salt
2 medium-large ripe bananas, peeled and mashed

5 egg whites
50g caster sugar
  • Prepare two large mixing bowls. One to contain the egg yolks and one for the whites.

  •  I usually use my KA to beat the whites, while I will mix the egg yolk mixture by hand.
  • Add the 90g caster sugar to the egg yolks and beat the mixture. It should look like this:
  •  To speed up the process, beat the mixture over a double boiler. Making sure the bottom of the mixing bowl is not touching the hot water. And the water should be barely simmering.

  •  Continue to beat the egg yolk mixture by hand until it becomes thicker, doubled in volume and lighter in colour. You can see the colour difference with these two photos. ;)

  •   Next add in the coconut cream and coconut oil. Mix well.

  •  Mix well till well combined. Next you add in the mashed banana and vanilla essence. Again mix well. Lastly, sift in the flour and mix well. 
  • In the meantime, preheat the oven to 170C and prepare a 21 or 22cm tube pan.
  • Now you beat the egg whites with the remaining 50g caster sugar. Beat till stiff peaks.

  •  In 3 separate portions, gently fold in the egg white mixture into the egg yolk mixture till all is combined.
  • Pour the batter into the tube pan.

  •  Now you need to do that all important step. Insert a tooth pick and give the batter a few good swirls to rib of any big bubbles inside.
  •  Bake in the preheated oven for 28-30 minutes or till the tester comes out clean.
  • Once bakes, remove the pan and invert the pan to cool completely before removing it from the pan. This is crucial, make sure you let it cool completely before putting it back up right.
 While the cake was out to cool, my house was like super aromatic! I have to admit the coconut cream and oil was the key to make this cake so fragrant. :9
The texture was really good too. Not mushy feel, fine texture and light with evident banana and coconut flavor in each bite. So much love. :9 Would totally use this as a cake base too next time. ;)

Do try this out next time instead of just your usual banana flavored chiffon. Add a little of the coconut goodness and make it just a little special and most importantly tastier, I guarantee. ;)
  
Have fun baking and good luck to all the kiddos that are having exam these few days!


Friday, February 21, 2014

Chestnut Chiffon Cake

Oh I know, every time I return to this blog of mine, I seem to be dusting off plenty of cobwebs and dust, haha! Sorry guys, will try harder! Never fear, I am back with this all so delicious chiffon recipe to redeem myself, heehee :P Anyway, this Chestnut Chiffon recipe has always been my to-do list and since my MIL gave me a packet of chestnut she bought from her recent trip to Thailand, kind off kick start it. Plus ever since I tasted a Mont Blanc cake from Lady M, I was hooked and vowed to bake a chestnut cake myself.
I remember last time chestnut used to be so uncommon in local grocer except for those mobile stalls where old school uncles will roast those yummy chestnuts in charcoal. I would be drooling every time I walk pass and smell those super fragrant roasted chestnuts! (I still do when I see one haha!) But nowadays Singapore import so many ready to consume chestnuts in convenient packaging in many major supermarket! Joys! But somehow I just didn't get myself to buy some to bake...lazy as usual haha! Thanks to MIL! Oh yes, don't really fancy those paste form in cans because the though of other stuff could be mixed in just doesn't appeal me at all haha!

Recipe for Chestnut Chiffon Cake (makes 20-22cm tube size pan)
Egg yolk mixture
70g egg yolk
70ml water
70ml vegetable oil
125g chestnuts (from those ready consume packs)
40ml milk
100g top flour/ cake flour
 
Egg white mixture
190g egg white
95g caster sugar

Chestnut buttercream (optional)
200g Swiss meringue buttercream (cold) (I followed Bravetart's recipe, please refer to link)
60g ready to consume chestnuts
40ml cold heavy cream

  • In a blender, add 125g of the chestnut and 40ml of milk. Zap till very fine crumbs or smooth, depending how chunky you want your cake to be.
  • Preheat the oven to 160C and prepare a tube pan of 20/21/22 cm.
  • In a large mixing bow, add egg yolk, water, oil and mix well. Add the pureed chestnut and stir till all is incorporated. Lastly, stir in the the cake flour with a whisk and making sure there is no lumps when all is combined.
  • In a separate mixing bowl, add in all the egg whites and beat till foamy. Gradually add in the caster sugar and beat till mixture reaches stiff peaks.
  • Add in 3 separate portions of the egg whites to the egg yolk mixture till all is incorporated and no visible white lumps.
  • Pour cake batter into tube pan. Use a tooth pick or chop stick to run through the batter to release any air or bubble trapped inside.
  • Bake in the preheated oven for 30-33minutes till the cake tester comes out clean or with very fine crumbs.
  • Remove cake from oven and invert to cool completely before unmoulding.
  • Once cake is completely cooled, remove from pan and slice up to serve.
  •  
  • To make the chestnut buttercream, combine all three ingredients in together in a blender and zap till smooth. Pipe the chestnut cream over the cooled chiffon as desired.
I cannot start to tell you how much I love this cake. It was literally love at first bite...yum! So light, soft, moist, fluffy and delicious, I can cry eating it hahaha! And it would definitely be a bonus if you make the buttercream too. :) Notice that I did not blend my chestnuts till very smooth as I wanted to be able to taste bits of it when enjoying the cake...its like eating the real stuff ya? Haha!
There, a shot of the sliced wonderful chiffon cake, haha! So yummy! Do try this...I can guarantee that you will not be disappointed. An ace of a chiffon cake. ;)

Okay guys, I better sign off and get my dinner ready! Till we meet again, eat well & be merry!


Wednesday, September 5, 2012

All natural Blueberry chiffon

Another school term has ended. Although I welcome this short school break now, I too have mix feelings about the coming year end events. Year end exams, a family wedding, birthdays, oversea visitors and a trip away. It just spells busy busy busy. :P Nevertheless, some of these events are really much awaited for, so I'm really looking forward. Although we didn't plan for anything big this one week break, I really don't mind these "unplanned" days. Seating around sipping tea or just lazing on the sofa watching Food Network, haha!
Nevertheless, I am still baking away in the kitchen, and today's post is just one of them bakes which I did last month. ;) An all natural blueberry chiffon cake. Why all natural? Well I didn't use baking powder or cream of tartar, so it's "chemical" free!
I think many people out there believe that it is a must to add in baking powder or some levening agent in order to achieve a nice tall chiffon cake. Oh no, it's not necessarily true....I'm here to prove otherwise. ;) In fact I have not used any levening agent for my chiffons for quite awhile now. I am sure many bakers that bakes chiffons regularily will agree with me on this; it is really a matter of beating your whites to the right consistency and baking at the correct temperature. Of course many other details like using a trusty recipe, the folding of the batter and cooling the cake itself can also incur the quality of the end product. But I believe through practice and knowing your techniques well will naturally make baking a chiffon a real breeze.
Ingredients for Fresh Blueberry Chiffon Cake (21 to 23 cm diameter):
Egg Yolk Mixture:
5 egg yolks
100g of fresh blueberry compote (*see note)
60ml fresh milk
80 ml corn oil
70g sugar
130g Cake flour

3 g salt

*Note: Place 100g of fresh blueberry, 1 tsp fresh lemon juice and 2-3 tbsp caster suagr in a saucepan and cook mixture at low heat. Stir constantly and cook till the blueberries have burst and ozzed out it's juices. Once it thickens about 8 minutes, remove from fire and let cool for use later.

Egg White Mixture:
5 egg white
10g cornflour
70g sugar

Method:
  • In a large mixing bowl, add in all of the egg yolk ingredients and mix well till everything is well incorporated and smooth.
  • Preheat the oven to 175C.
  • In another mixing bowl, add in all the egg white and beat using a mixer at medium speed till foamy. Without stopping the mixer, gradually add in the sugar and beat till stiff peaks. Turn the mixer to lowest speed, add in corn flour and beat till combined.
  • Gently fold a quarter portion of the white mixture into the yolk mixture till well combined. Then add the yolk mixture to the white mixture and gently fold everything together till all is incorporated.
  • Pour the batter into a tube pan (no grease or non stick please) and place in the preheated oven to bake for 30 to 35 minutes. Tester comes out clean and it's ready.
  • Remove from oven and immediately invert it to cool. Do not invert/ remove cake from pan until completely cooled.
I am so glad my blueberry chiffon turned out purplish blue! I was kinda worried it'll be greyish and dull. I believe the lemon juice in the compote might have helped kept the colour. ;) And as you can see the texture of the chiffon, it is soft and fluff...yummy. ;) I believe you can use this same recipe with most of the summer berries, be it strawberries or rasphberries.
Perhaps it's time you bake an all nautral chiffon cake for your love ones too. And lately I've seen blueberries on sale in the supermarket too. So what are you waiting for? Try it and let me know how you like it. ;)
Have a great day you all! Cheers!


Tuesday, August 7, 2012

Dreamy Soft Pandan Cake (香兰相思蛋糕 )

I am still stuck using my husband's laptop this week. Although his is much faster and better then mine, I still love my old laptop, haha! Anyway, hopefully my "old friend" won't quit on me again any time soon. :P I still have quite a few recipes in my old laptop that I want to post up...hopefully can get them up soon. So at the moment I can only share with you all those I made over the weekend. This particular recipe is probably one of the more popular ones now in the blog sphere; it's none other but "相思蛋糕" . If you ask me how to translate this...in correct term, it is call "lovesick cake", hahaha! But you know after I ate this cake, I know why it is called that! It is really very soft and dreamy, you'll love it so much that you probably get lovesick for it, heehee. :D
I was contemplating whether I should make vanilla versus pandan flavor. I went with the latter because it has been ages since I last baked anything with pandan. :P I used all natural pandan extract and thus the cake look kind of light in the shade of green.
I spread a generous layer of vanilla buttercream in between the cake and it tasted even better! It simply just melts in the mouth. :) ~Dreamy~

This lovely recipe comes from Siewhwei. Many bloggers out there has already gave this wonderful recipe a try and rave good reviews. So what are you waiting for? Hehehe..

I've reposted the recipe here for easier reference with minor changes made:
Ingredients for Soft Pandan Cake (香兰相思蛋糕 ) (makes 7x7 or 8x8 square)
Egg yolk batter
65g vegetable oil
80ml coconut pandan mixture (See Note *)
1/4 tsp salt
100g egg yolk (mine was approximately 6)
1 whole egg
65g superfine flour (I used Prima top flour)

Note* = I blend 6 spears of pandan leaves with 120ml of coconut milk. Then I squeeze out the milk mixture. Reserve 80ml for the batter.


Egg white Batter
200g egg white
70g caster sugar
1 tbsp corn flour
  • In a large mixing bowl, beat the egg yolks, whole egg, salt, coconut pandan milk mixture together till well combined.
  • Sift in the flour and mix well till no visible lumps. (set aside and cover)
  • Preheat the oven to 160C. Prepare water bath in the oven. Grease and line parchment paper a 8x8 square cake pan.
  • In the mixer bowl, add in egg white and beat till foamy. Then gradually add in the sugar and continue to beat till soft peaks. Then add in the corn flour and continue to beat till stiff peaks.
  • Gently flour in the egg white mixture to the egg yolk mixture in 3 separate portions and do not deflate the batter.
  • Pour batter into the prepared cake pan and bake in the preheated oven for 50 mins in water bath.
  • Remove from oven when the tester comes out clean and let cool on rack before slicing.
This soft and dreamy cake almost melts in your mouth once you take a bite...really really nice. I am already planning to bake this again using the yuzu powder that Sonia gave me, heehee. ;))
Have a great day and Happy 47th Birthday to Singapore!! ;D