Showing posts with label fruit. Show all posts

Wednesday, May 27, 2015

Strawberry Yogurt Popsicles

Not sure about you, but whenever I bought myself a new toy, I mean new cooking toy,  I would get all excited to try out new recipes with it. And this time I bought myself quite a fun and dainty little popsicle mold from Zoku. :) Needless to say, I chose an easy recipe to test out this new toy. Plus I have fresh strawberries in the fridge, I made Strawberry Yoghurt mini pops!
These popsicles just reminds me of baby pacifiers haha! Frankly speaking they are the right size for my kids. They come back from school in the afternoon and craving for some cold treats. And what's better then homemade fruit popsicles verses sodas and store bought ice cream. :P These popsicles are so easy to make, even my 10 year old is capable of making them herself! 

The only thing that deters me from making popsicles at home last time was unmolding them. Soaking in warm water, leaving it to stand at room temperature which is such a torture when you are so craving for one. Or like me...pull and pull like no tomorrow, oops. :P Sometimes the holding stick just slides out on its own.. -_-" But NOT anymore with Zuko! Yay! These are so easy to remove, just pushing the silicon base and it pops right out~! Ok ok, I bought it from TANGS Orchard basement where all the bakeware is. I believe Vivo branch carries it too. ;) *Excited!*


Ingredients for Strawberry Yogurt Popsicles
90 g fresh strawberries
200g Greek Honey Yogurt
50g Strawberry Jam (I use New Zealand brand Anathoth Farm from Coldstorage)
1 tsp fresh lemon juice

  • I had the other ice cream old from Daiso to standby incase I have more to freeze. 
  • First you wash and slice up ~90g of the berries and place in the blender container. Leave some thin slices of the strawberries for decorations later but it is optional.
  • Next add in the strawberry jam. Got this Anathonth Strawberry jam recently and love the intensive flavour and chunky fuit in it.


  • Then now add in the greek yogurt and that fresh lemon juice.
  • Blend at high speed for a minute.
  • Place the thinly sliced starberries in the cavity of the Zuko mold. Then gently pout the puree into it. If you look carefully, you will see where you should fill the puree to. The right level which the stick will be able to grip it.
  • Place the sticks over and cover all of the cavity.
  • Since these popsicles are smaller, it also means the freezing time is reduced as well. I left it for 2 hours and it was already good to go!

  • After two hours, remove from freezer. Then using your thumb, push up the silicon mold to release thepopsicales. 

  • See! Just a push and it just pops out. Easy peasy right?

Perfect treat on warm days or any day yeah? 

Hope you guys like this super easy and healthy popsicle recipe. You cab change the fruit to any kind you fancy, like mango or even orange. :9

Have fun always

Monday, May 18, 2015

Raspberry Rose Chiffon with Raspberry Buttercream


I remember seeing this recipe from Swee San's blog awhile back, I knew at that point that I will try that recipe out. Just that I didn't know when haha. :D Okay, back up ... I am talking about this lovely recipe, Raspberry Rose Chiffon Cake.


Not only is the taste is so special, it is such a uniquely elegant flavor that even my picky sisters were impressed. Thanks to Swee San of course...quite the pastry chef! You can hope over to her post to see how she create this lovely recipe

I made changes to the recipe since I wanted mine to fit into my 21 cm tube pan. And instead of using whipped cream, I made buttercream for the frosting since I needed to transport it out for a gathering, I wanted a more stable topping. And since I use raspberry jam, I presume the raspberry will be more intense verses the fruit puree itself. In turn I reduced the sugar level as well to maintain the proper sweetness of this cake.

Ingredients for Raspberry Rose Chiffon (Makes a 21 or 22cm tube pan)
5 egg yolks
10 g dried rose buds
70 ml fresh full cream milk
40 g homemade raspberry jam (store bought is fine)
50 ml corn oil
40 g caster sugar
pinch of salt
125 g cake flour
1 tsp baking powder

5 egg whites
90g caster sugar

Method: 
  • First of all, removed the calyxes of the dried rose buds.

  • Then places the rose buds into a blender and chop up the rose petals into fine flakes. 
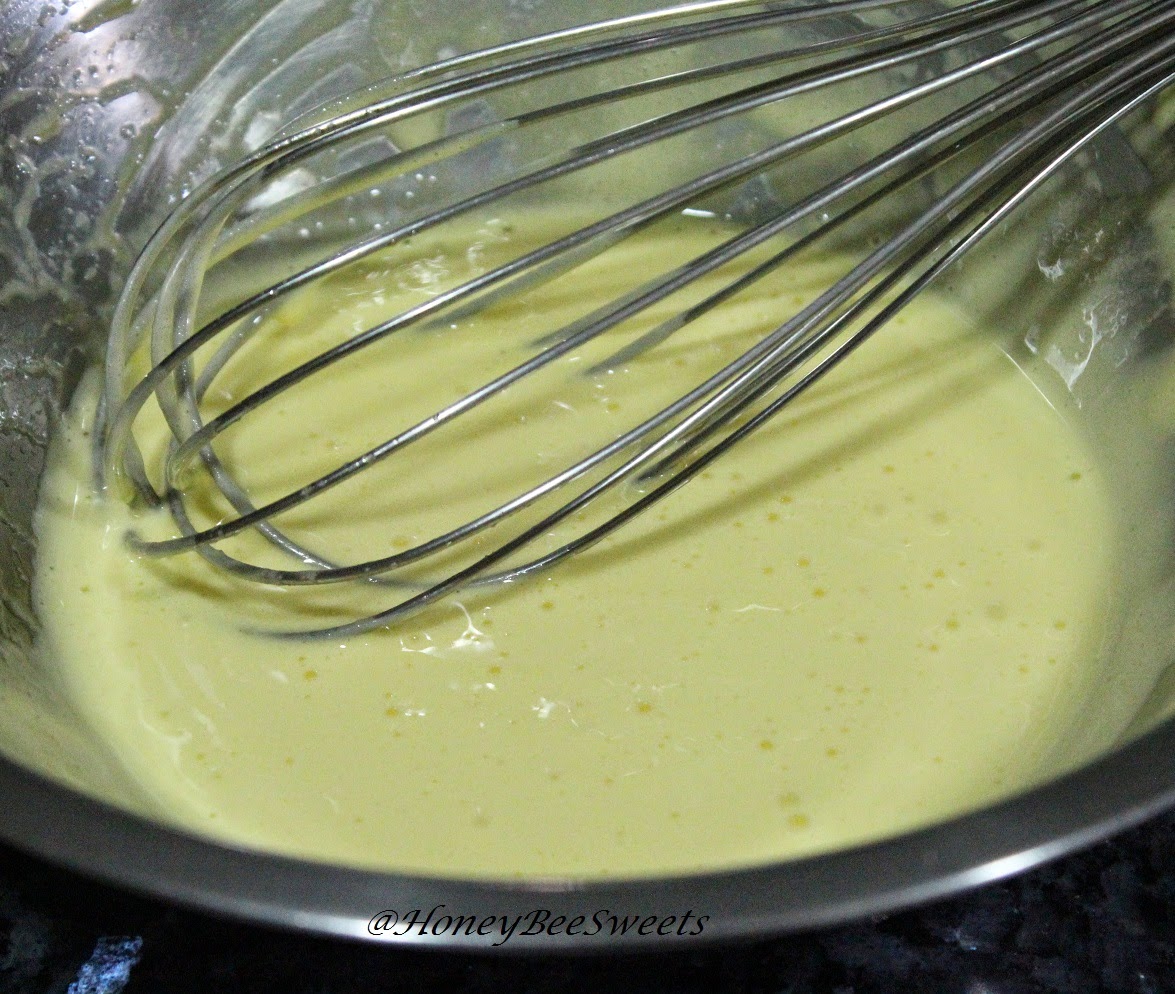
  • In a large mixing bowl, add in these blended rose flakes, follow by egg yolks, caster sugar, milk, raspberry jam, vegetable oil and salt.

  • Give that mixture a good stir to combine everything together evenly using a whisk.
  • Once the mixture is smooth, sift in the cake flour. Again mix well till the mixture is smooth and no lumps.
  • Preheat the oven to 170C. Prepare a 21/22cm tube pan. (DO NOT USE non-stick pans)
  • In another mixing bowl add in the egg whites in. Start beating it at high speed and gradually add in the caster sugar. Continue beating till the meringue reaches stiff peaks.

  • Gently fold in the whites into the egg yolk mixture in 3 separate mixtures till all is well combined and the colour is uniform and no visible white lumps.

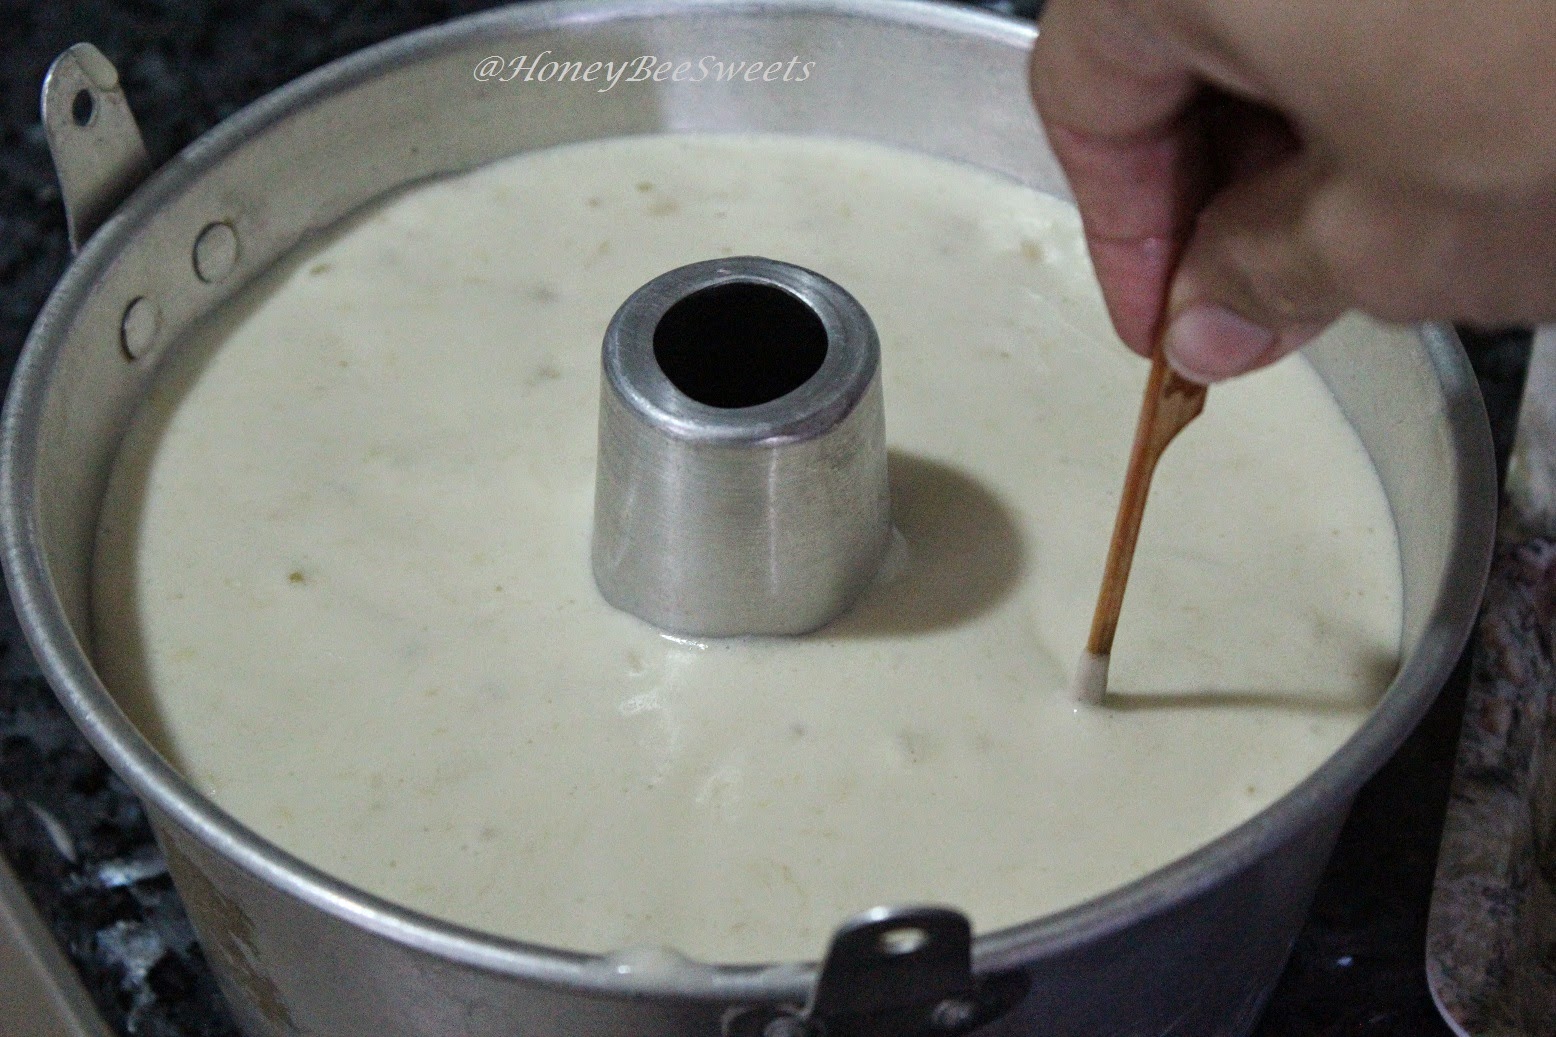
  • Pour the batter into the tube pan. Then using a tooth pick or chopstick, give the batter a good swirl to remove any air pockets that might be trapped in the batter.


  • Bake in the preheated oven for 30 minutes or till the cake tester comes out clean.
  • Remove the tube pan from the oven and invert it to cool. Let cake to cool completely before removing from mould.
  • Once baked, let cool and remove from pan. Set aside for now while you work on that raspberry buttercream.


Recipe for Raspberry Buttercream
Basic Vanilla Swiss Meringue Buttercream (makes ~2cups)
2.5 oz egg whites (~120g)
2.5 oz caster sugar 
(~120g)
1/4 tsp salt
bean scrapings from 1/2 of a vanilla bean
250g unsalted butter, cut into 2” chunks, room temperature

100g homemade raspberry preserve / jam (store bought is fine too)

Method: 

  • Prepare a double boiler with a gentle simmer. In a heat proof bowl, combine egg whites, sugar and salt into it. Mix well but no beating is required. Place the bowl over the double boiler and placing a candy thermometer to monitor the temperature. 
  • Stir once in awhile to prevent the egg white from curdling at sides. Aim to to have the temperature reached at least 146F / 63C for food safety reasons. 
  • Once the temperature is reached, remove from heat and beat it till it is silky white. Add vanilla extract and mix well. If the mixture is still hot, place it over a bath of ice water to cool it down.
  • Add the butter chunks one piece at a time and continue to beat while doing so. Continue to beat till all the butter has been added and the buttercream is smooth and silken. 


  • Use about 1 cup for the cake while you can chill the rest in the fridge for use in future.
  • Add in the raspberry jam and beat well till smooth. Chill if necessary if the buttercream is a little too soft. 
  • Use it to frost on the cooled chiffon cake as desired. And decorate the cake of course. ;))
There you have it. Just like your favourite chiffon cake recipe, this cake ain't as complex as it sounds. :)


Made this cake for a gathering with my sisters. It was so well received, and everyone said it's such a special flavoured cake. It's fruity, it's floral, it's pleasure to both taste and smell. 


My blog post is never complete without having a closer look of the cake...yeah a sliced version please!
Checkout the fluffy soft interior of the cake.And that sweet pinkish colour is love! 

Trust me, the combination of flavours is the in thing right now. And this combo is awesome. I can't wait to try out combos like Earl Grey Lavender or ....Chocolate Chilli? Maybe not. :P

Have a good week ahead all!


Friday, May 8, 2015

Banana Coconut Cream Chiffon

There is an endless possible combinations as to what kind of flavours you can come up with on creating your cakes. Just looking at those cakes selling at cafes and bakeries nowadays, some flavours can get really exotic, like candied bacon, chocolate chilli and even my recent attempt of Mango Sticky Rice cupcakes. :D 

Today I am sharing with you guys yet another new creation from,...ahem me again. :P Well, eating the same stuff for too many times can get a little boring. Just a little twist and tadah! A whole new world...I mean cake! This time, my chiffon is ....~drum roll~ ... Banana Coconut Cream Chiffon!
Who would have known...two really aromatic ingredients coming together and making another awesome end product...yum. I was really pleased that this chiffon turned out so well, even my two little "critics" said "It so good Mum!". And that made me decide I should blog this recipe...yeah, I'm quite easy to convince. :P Anyway...the ingredients are real simple, pretty much what you can find in your pantry.

Ingredients for Banana Coconut Cream Chiffon (Makes a 21cm / 22cm tube pan)
 
130g cake flour
5 egg yolks
90g caster sugar
100ml coconut cream (not coconut milk, it needs to be thick)
40ml organic coconut oil
1/2 tsp salt
2 medium-large ripe bananas, peeled and mashed

5 egg whites
50g caster sugar
  • Prepare two large mixing bowls. One to contain the egg yolks and one for the whites.

  •  I usually use my KA to beat the whites, while I will mix the egg yolk mixture by hand.
  • Add the 90g caster sugar to the egg yolks and beat the mixture. It should look like this:
  •  To speed up the process, beat the mixture over a double boiler. Making sure the bottom of the mixing bowl is not touching the hot water. And the water should be barely simmering.

  •  Continue to beat the egg yolk mixture by hand until it becomes thicker, doubled in volume and lighter in colour. You can see the colour difference with these two photos. ;)

  •   Next add in the coconut cream and coconut oil. Mix well.

  •  Mix well till well combined. Next you add in the mashed banana and vanilla essence. Again mix well. Lastly, sift in the flour and mix well. 
  • In the meantime, preheat the oven to 170C and prepare a 21 or 22cm tube pan.
  • Now you beat the egg whites with the remaining 50g caster sugar. Beat till stiff peaks.

  •  In 3 separate portions, gently fold in the egg white mixture into the egg yolk mixture till all is combined.
  • Pour the batter into the tube pan.

  •  Now you need to do that all important step. Insert a tooth pick and give the batter a few good swirls to rib of any big bubbles inside.
  •  Bake in the preheated oven for 28-30 minutes or till the tester comes out clean.
  • Once bakes, remove the pan and invert the pan to cool completely before removing it from the pan. This is crucial, make sure you let it cool completely before putting it back up right.
 While the cake was out to cool, my house was like super aromatic! I have to admit the coconut cream and oil was the key to make this cake so fragrant. :9
The texture was really good too. Not mushy feel, fine texture and light with evident banana and coconut flavor in each bite. So much love. :9 Would totally use this as a cake base too next time. ;)

Do try this out next time instead of just your usual banana flavored chiffon. Add a little of the coconut goodness and make it just a little special and most importantly tastier, I guarantee. ;)
  
Have fun baking and good luck to all the kiddos that are having exam these few days!


Tuesday, April 7, 2015

Stonefruit Lemon Yogurt Cake

It always come to one point of the year where we get this abundance of stone-fruits in the grocers or just your neighborhood fruit stalls. Oh joys! I love stone fruits, especially those sugarplums, yum!

To me, consuming the fresh fruits just as it is, is the best way to enjoy it. But if you are like me, buying them in boxes of 8s or 10s...you can only eat that many in one day! And thus making the best of them (again) by recreating another form of enjoyment...no not dip them in melted chocolate (you can though...) incorporate them in bakes! Another excuse to mess in the kitchen, yes please. ;)
Ladies and gentlemen, this is my Stonefruit Yogurt Cake. Okay, it looks pretty damn normal I know. And when I started off baking it, I didn't even think about blogging about it. But but but...one bite and I was in love. It was really light and fluff, not overly sweet and those juicy, slightly caramelised stone fruits was just amazing. :9

Can you spot that fluffy light texture? Heehee, yes, that looks amazing...*thick skin*. However, as I mentioned earlier, this was an unexpected success, I did not take photos of the step by step methods involved (mistake...*sob*), thus get your imagination going ya? Shall try to be as clear as possible in the following recipe. ;)


Recipe for Stone Fruit Lemon Yogurt Cake (makes 8" by 3" round cake) 
225g cake flour
180g caster sugar
165g unsalted butter, room temp
1.5g baking powder
3 large eggs
50g plain yogurt (I used honey Greek yogurt)
50ml buttermilk (shaken if in box)

Juice of 1/2 fresh lemon
Zest of 1 lemon

1/4 tsp salt

1 large yellow peach / 2 small doughnut peaches, pitted and sliced into 8 wedges
2 small sugarplums, pitted and sliced in to 8 wedges
Method:
  • Preheat the oven to 160°C. Butter and line a round 8" cake pan with parchment paper and butter it again. 
  • Prepare water bath in the oven. When you place the 8" cake pan in the bath dish later, it should be only half way up and not any where near the rim. I usually wrap the base with thick aluminum foil to prevent any water from sipping in.
  • In a mixing bowl, beat butter and sugar together till light and fluffy.
  • Add eggs, one at a time till well mixed in.
  • Add in yogurt and buttermilk, stir till incorporated. Then add in the lemon juice, lemon zest and mix well.
  • Add in flour, baking powder and salt, stir till just blend in.
  • Pour the cake batter into the loaf tin and lay the stone fruit wedges in a circular pattern on top of the batter. NO NEED to press the fruit down, as it will eventually sink in a little when baking.
  • Then steam bake for 50 mins to 1hr  or till the cake tester comes out clean.
  • Cool on rack before removing from pan and slicing. Note that the cake will deflate slightly when cooled, its alright.


And the moment of truth when you slice into that cake...*pray pray pray*.


Yoohoo! Joys! I like cake and I cannot lie, haha! Loving the soft and fluffy texture there...right there. And because it is steam baked, this cake is really moist, even after it has been chilled. Plus that juicy fruits on the top just makes it a melt in the mouth experience. *Happiness* And remember to serve it on a pretty cake stand to make it even more awesome. Mine is from Rice from Denmark which has a really good material call melamine which is more durable and heat resistance. Check them out at https://www.rice.dk/


Do note that my cakes are usually not overly sweet, so do adjust the sugar amount to your liking.
 And because it is not overly sweet, my parents enjoyed it very much. And I have no problem giving my kids an extraq slice too since it is better that chocolaty cream cake. :P
Hope you all will try and like this recipe. Do drop by a note to let me know how you like it. ;)


.